

Hello fellow crafters! I am Corinne Blackstone, and I am so excited to share my 5 tips for sublimation for beginners with you today! I really love doing sublimation for a lot of reasons and I want to make it easy for you to love it too! You can find a lot of great tips and tricks for working with sublimation on my YouTube channel, so if this blog inspires you to dip your feet into the sublimation waters be sure to check those out!

1) ALWAYS USE BUTCHER PAPER
When sublimating the paper is thin and the ink is strong, so having butcher paper to cover your design is a MUST. This is going to protect your press from getting ink on it, which can transfer to other projects. The butcher paper acts as a very helpful barrier and will absorb the ink before it makes it onto your press. When heated, sublimation ink becomes a gas, and it can really cause issues if it gets onto your pressing surface. Every time it is reheated it will turn into the gas again and dye the next project you make. You can grab butcher paper at local grocery stores, Amazon, and craft supply stores. Make sure it is not coated butcher paper and never wax paper.

2) USE BLANKS MADE FOR SUBLIMATION
This is probably the number one thing I see people who are new to sublimation having issues with. This is often an issue with ceramics like coffee mugs that are not polyester coated. Sublimation must be done on items that have a polyester coating or are made of a polyester fabric. The sublimation ink actually dyes the coating or the fabric making it permanent. The mugs you buy from The Dollar Tree or Walmart are not coated and, while great to add vinyl to, they will not work for sublimation. Even if you pressed them with a sublimation image nothing would transfer to the mug because there is no polyester surface for it to dye. This is true for cotton shirts, glass plates, bags and more. You need polyester in all those products for it to adhere. With shirts, you can do a cotton/poly blend but note that the higher the polyester content, the brighter your designs will be. Also note that sublimation needs to be done on light colored items for the most accurate color result.

3) PRINTER SETTINGS WILL BE DIFFERENT FOR EVERYONE
It is extremely common to have some color issues when you first start with sublimation. The printer, even if it is a sublimation printer, may need to have some settings changed in order to produce the best color and image. Many of us use Epson printers with sublimation ink and run into issues with lines in our design. The best way to handle this is to go into your printer preferences and change your print quality to high, then go under "more" tab at the top and find the "high-speed" print option and turn that off. If you do not have these settings, you will need to reinstall the drivers for your printer by simply going to the manufacturer’s website and searching for your printer model and drivers. Once you reinstall those you should have all the settings you need to make beautiful prints.

4) PRINTING YOUR SUBLIMATION DESIGN
Now that you’ve tweaked your printer settings, you need to think about where you are printing your design from. Meaning what program are you using? I will caution you to stay away from printing any sublimation designs from Cricut Design Space. Printing from Cricut Design Space wastes a lot of ink, material and in my experience, the color is actually more muted. There are many great programs you can print from, design your own images on or combine images to make your own unique design. I like using Inkscape, Canva, Adobe Illustrator or even Procreate if you have an iPad. These programs are designed to work with vector and high DPI PNG images for the best quality prints. DPI refers to the number of printed dots contained within one inch of an image. Higher DPI images are going to print with a much higher quality so you will have good clear designs that are not pixelated or blurry.
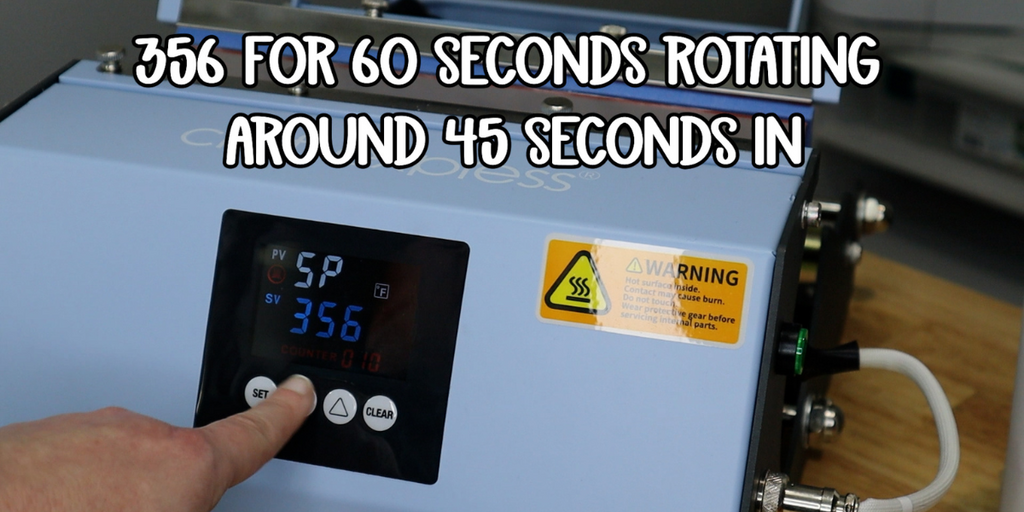
5) KNOWING HEAT TIME AND TEMP IS A MUST
Sublimation, much like using HTV/ Iron-On, does require specific time and temperature settings. These can be different based on your sublimation blank and also the way you are pressing them. There are many ways to press sublimation including a clam shell or swing away heat press, a mug or tumbler press or even a convection oven. Typically, the best place to find the recommended settings for your sublimation blanks is on your heat press manufacturer's website. Overheating your blank can cause burning which can make your blacks appear brown or leave yellow marks along the edges of your blank. Under heating can cause light colors, ghosting, and your print may not last long.
6) BONUS TIP - BE KIND TO YOURSELF!
This might be the most important tip when it comes to crafting! Be kind to yourself! We are all going to make mistakes, ruin projects and just generally have failures. That's ok and that's how we all learn. I cannot tell you how often I still mess up and I have been doing this for years! Whether you burn your project, forget to mirror it, press it upside down or even make it perfectly and then drop and break it, it's ok! Remember nobody's perfect and mistakes help us learn. Take a step back and forgive yourself!
Happy Sublimating!
Written by Corinne Blackstone